Characters
Generating images
Put your character in any scene by describing the scene, not the person.
Once a character exists, you can drop them into any scene you can describe. The face comes from the character, so your prompt is only about the setting.
Generate an image
From the character's dashboard, click Generate Image.
- Choose an image model. The picker shows the packs you have installed, then the models inside each one. Pick one, and SimpliGen remembers it for next time.
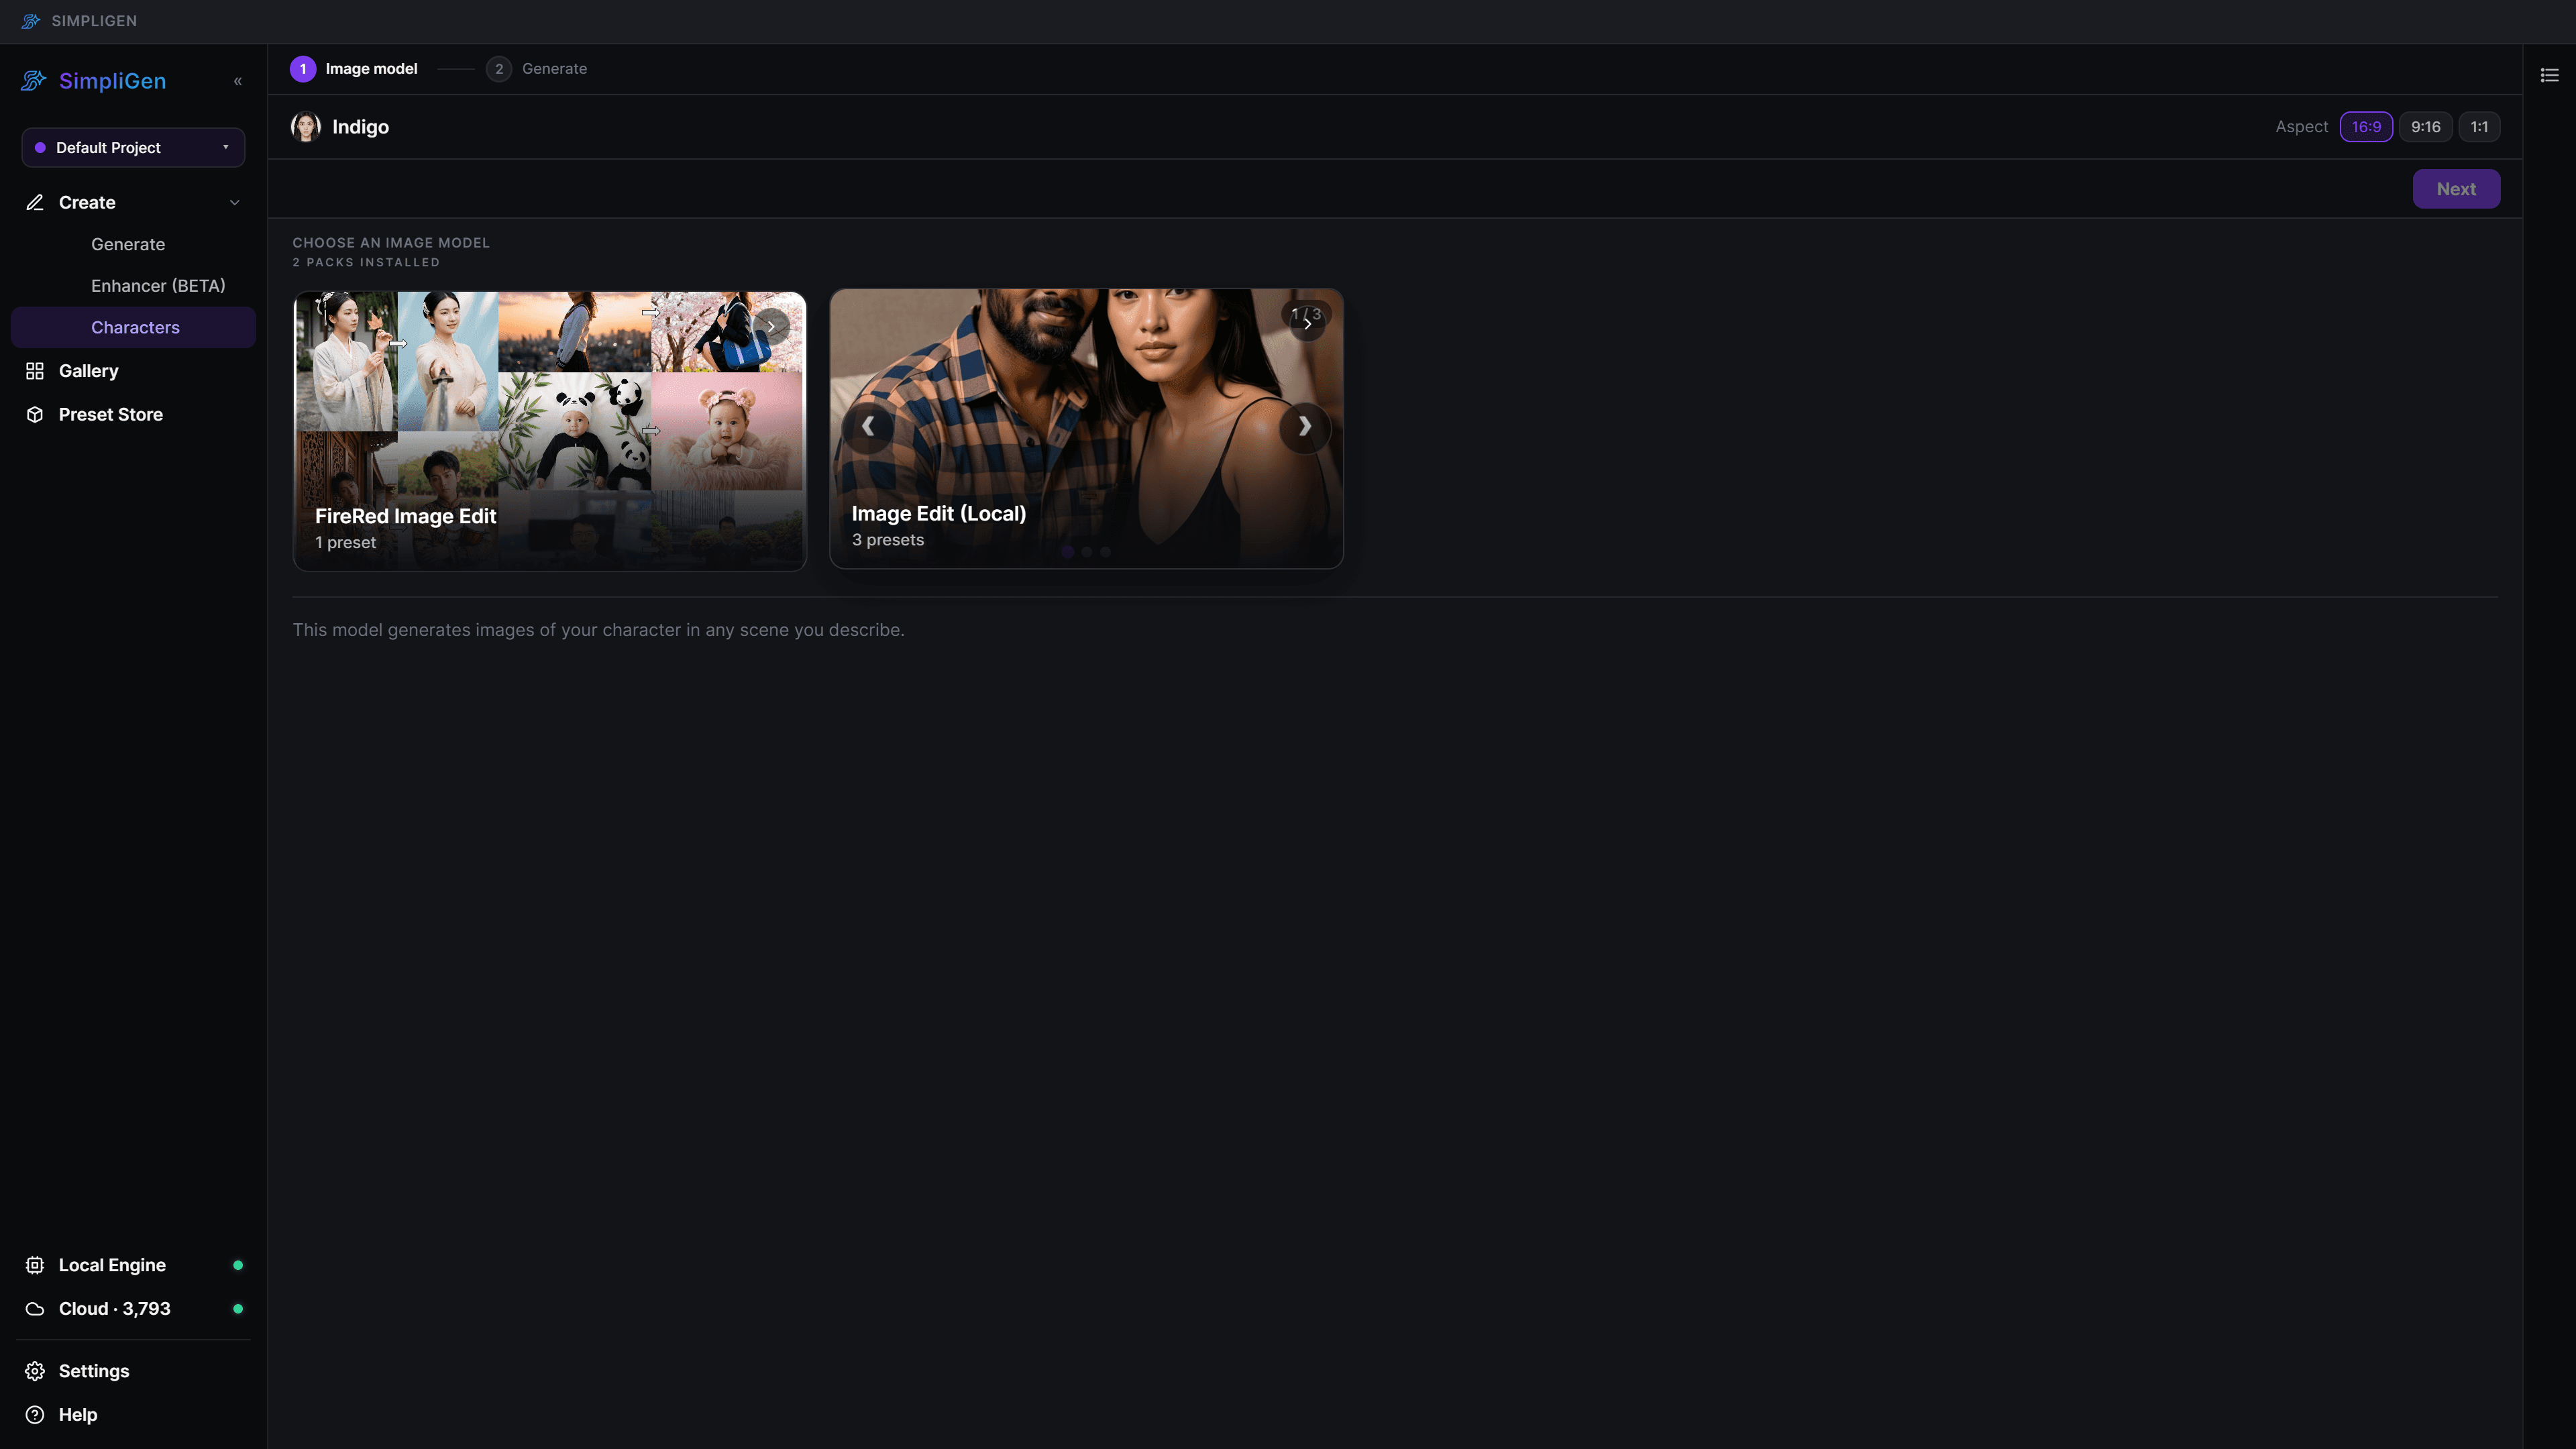
- Describe the scene. Write where the character is and what is happening, for example "on a beach at sunset, warm golden light". You do not describe the character's face again. That comes from the character.
- Set the aspect ratio and how many to make, then generate.
The results collect on the character's dashboard. The scene is whatever you asked for, but the face stays locked to the character.
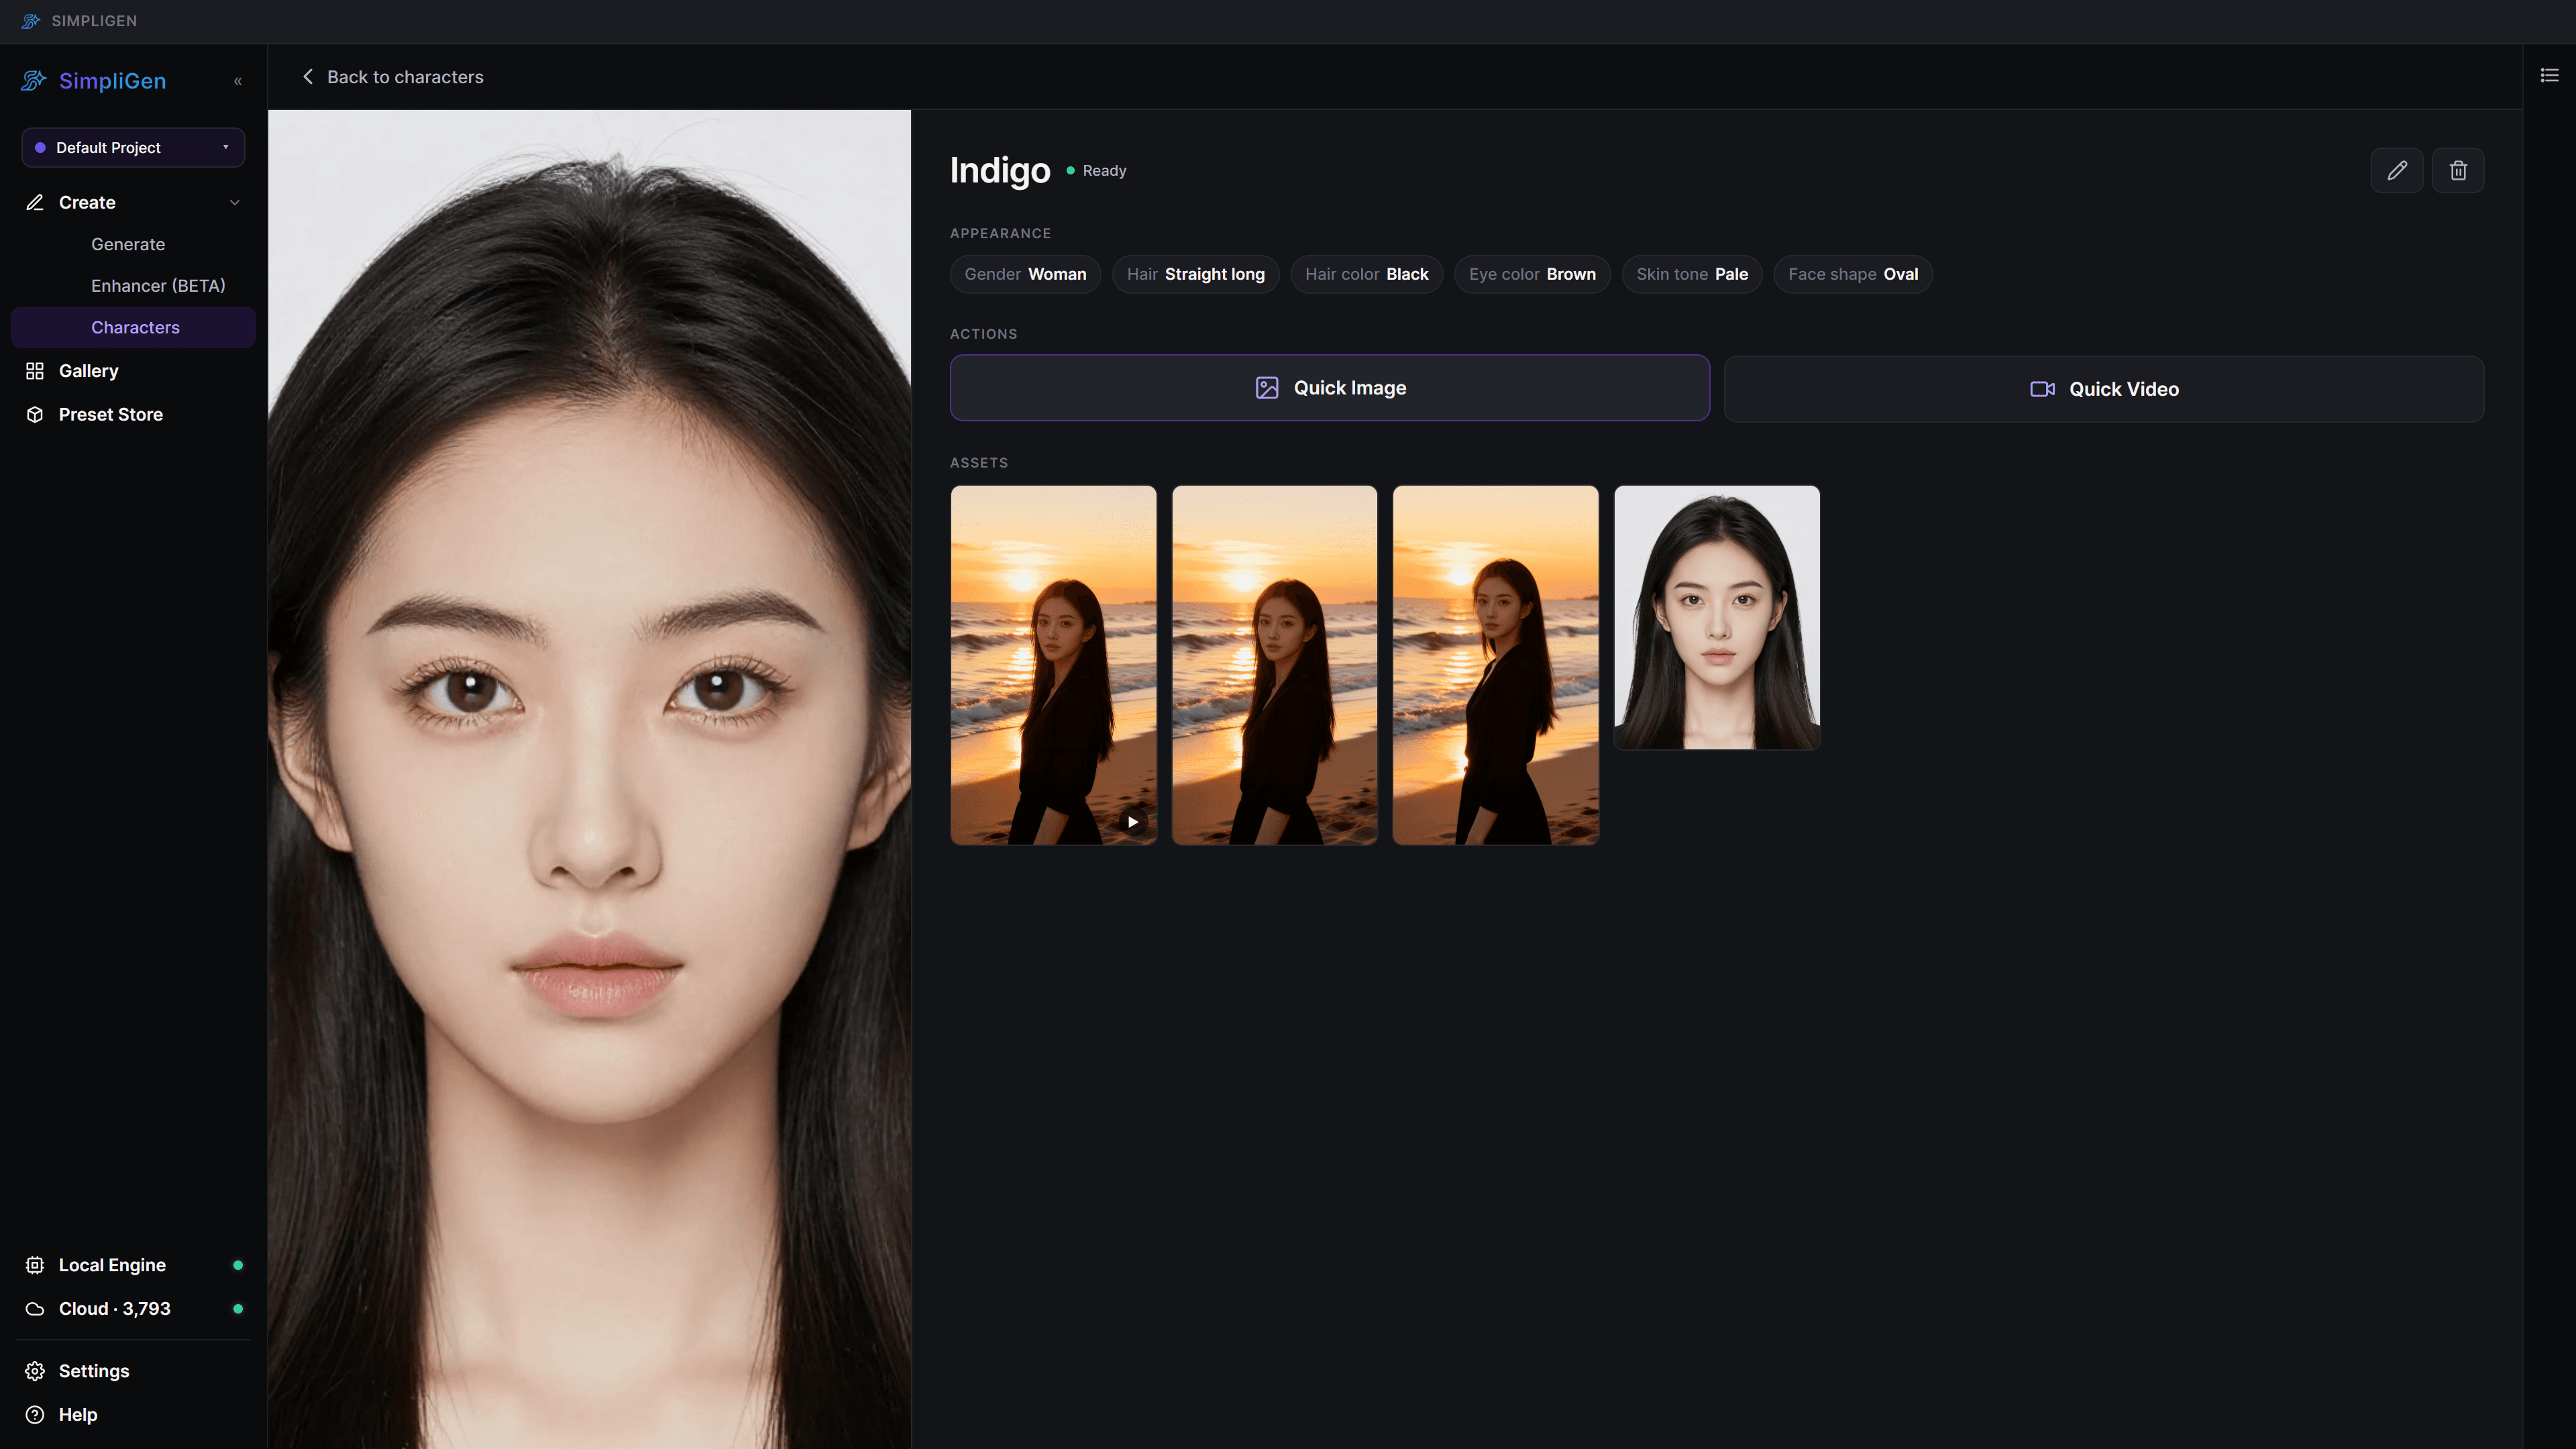
Describe the scene, not the person
This is the part that makes characters powerful. A normal prompt has to re-describe the person every time, and you get a different face every time. With a character, you only write the scene:
- Good: "sitting in a cafe by a rainy window, soft morning light"
- Good: "hiking a mountain trail, backpack, bright daylight"
- Skip: hair colour, eye colour, face shape. The character already holds those.
Getting better results
- Be specific about setting, lighting, and pose. Those are what your prompt controls.
- Set the right aspect ratio for where the image will be used.
- Make a few at once and pick the best.
- Enhance the ones you love for crisp, finished detail. See Enhancing.