Creating a character
Build a reusable character from a base portrait, by describing a look or uploading a photo.
A character starts with one thing: a base portrait. SimpliGen locks that portrait in as the character's anchor, and every image and video you make afterwards reuses that same face. This guide covers building one from start to finish.
Start a new character
Open Characters from the Create menu, then click New character. Give your character a name and a gender. That is enough to begin.
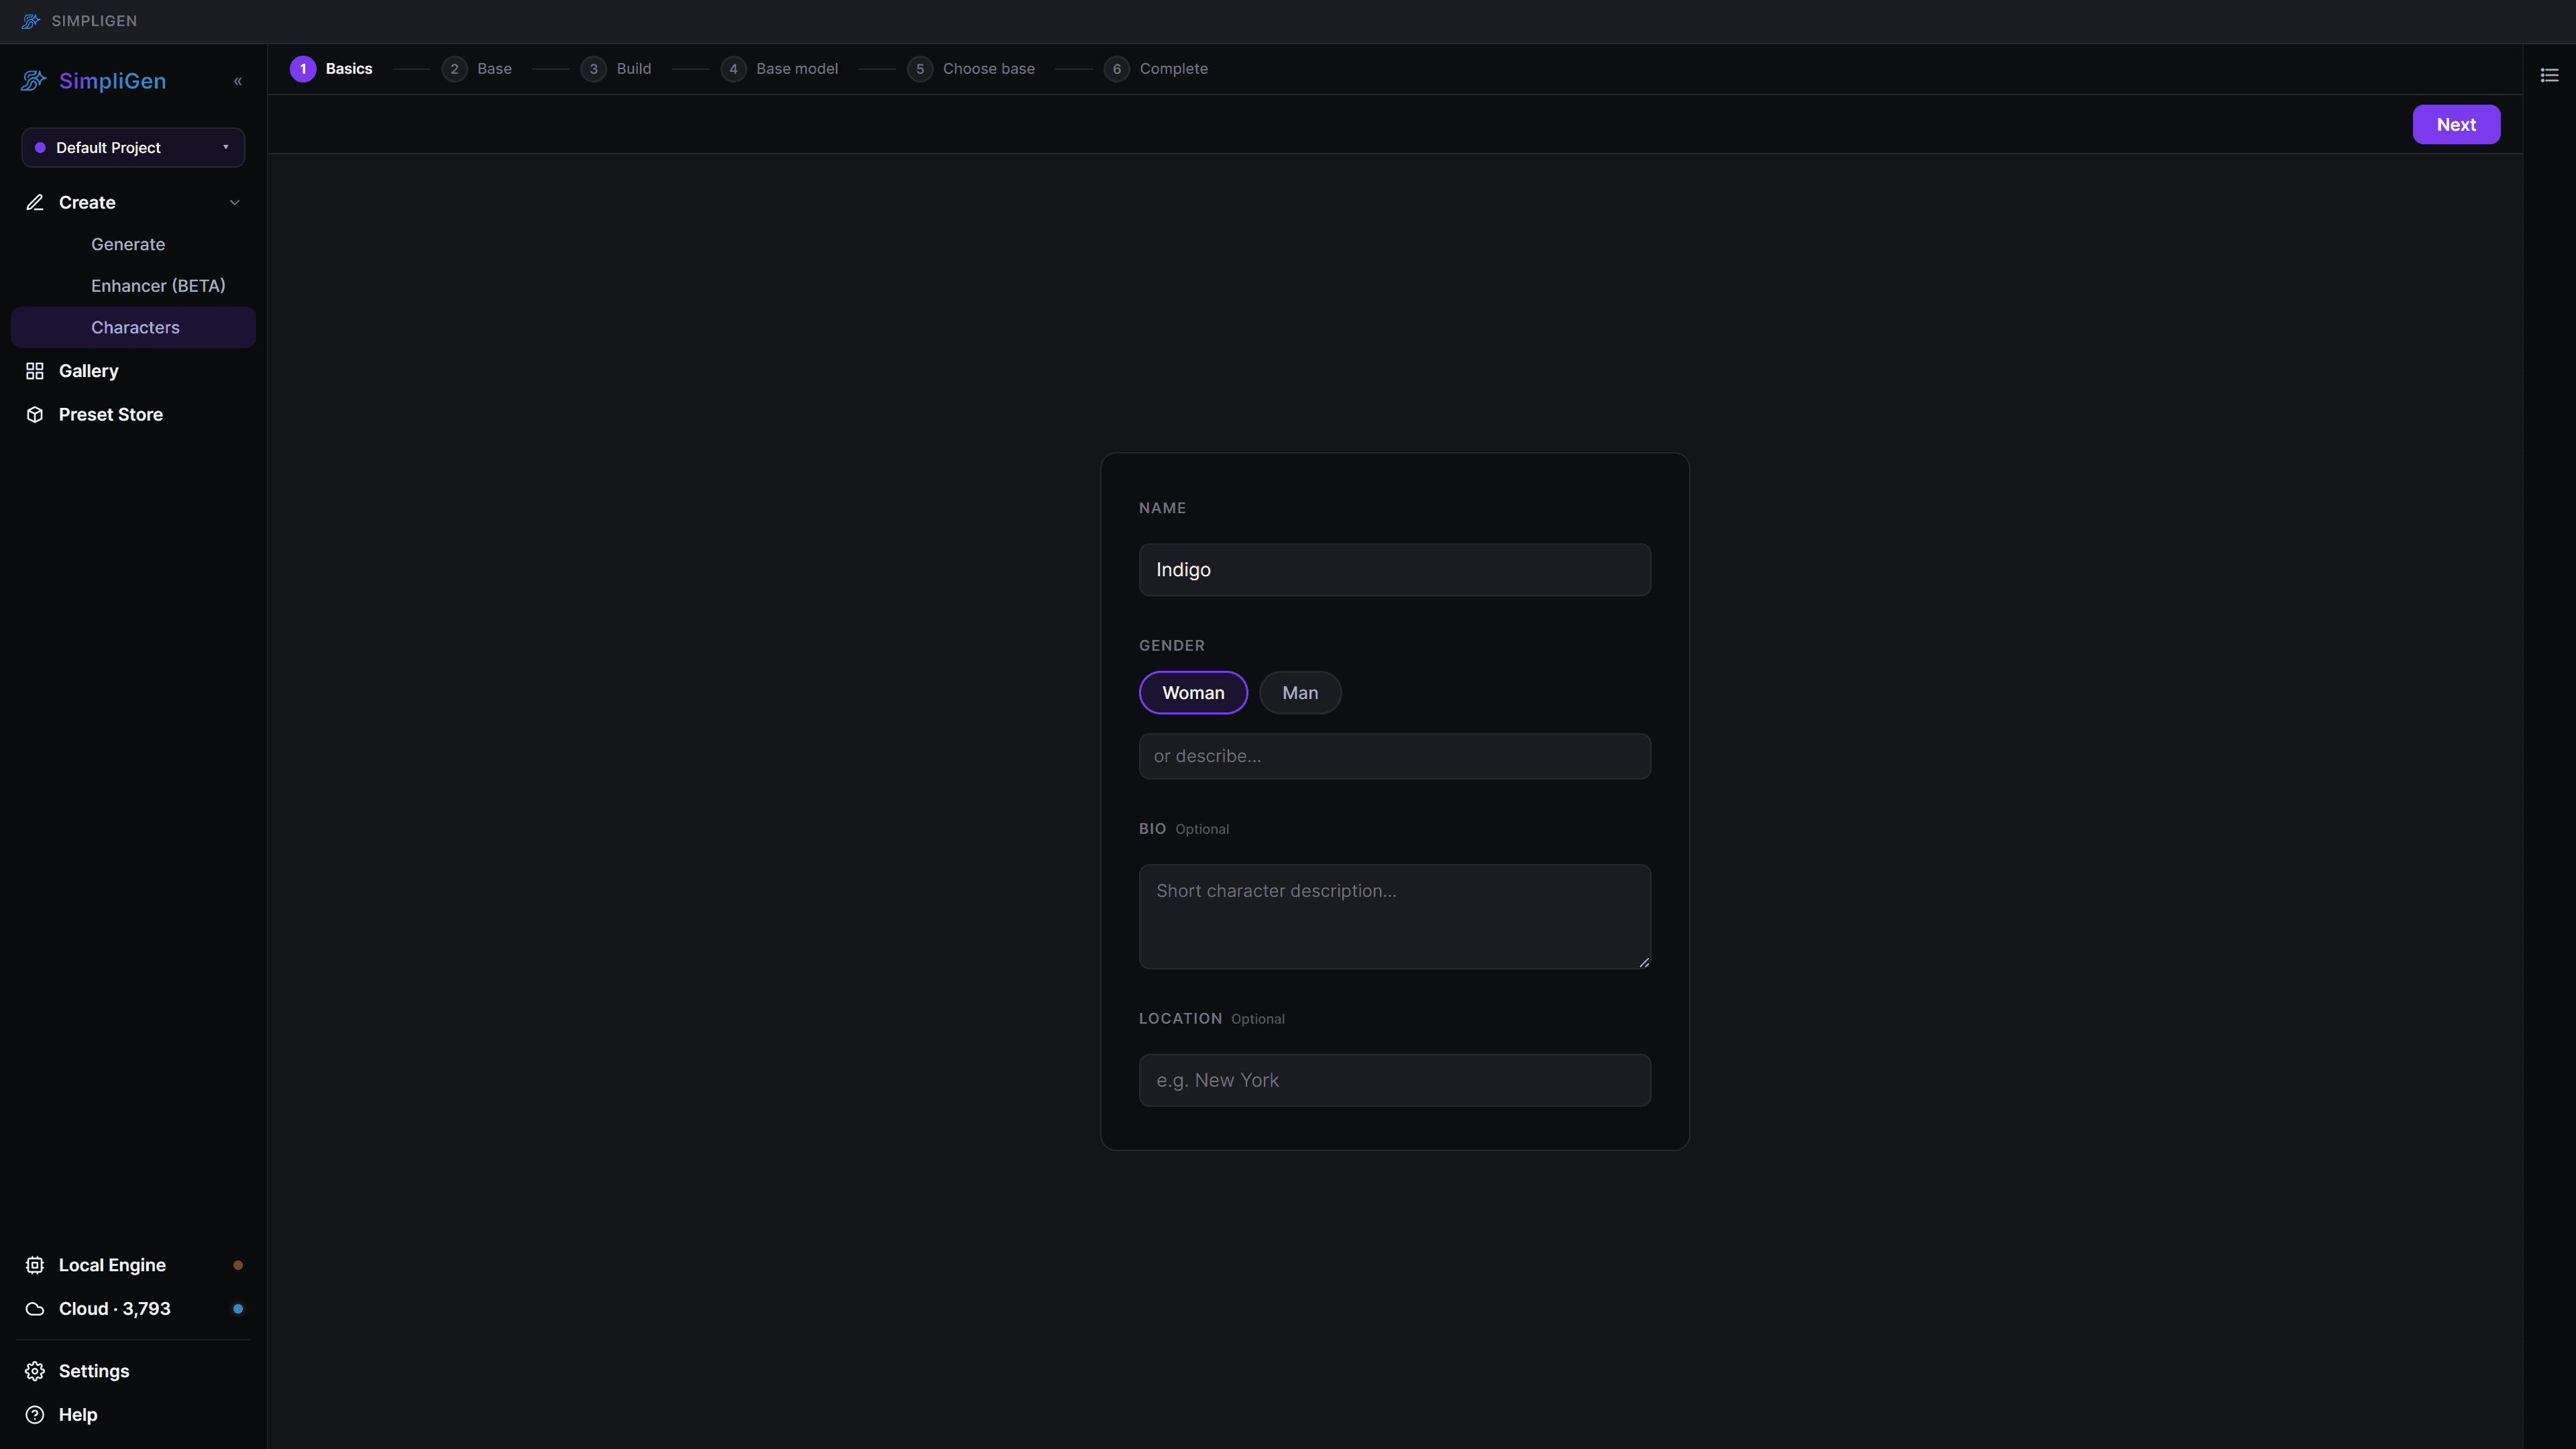
Choose how to make the base
You have two ways to create the base portrait:
- Describe a base generates a face from scratch using simple menus. Best when you want a brand new person.
- Upload a photo uses a face you already have. Best when you want to recreate a specific look.
Most people start with Describe a base.
Shape the look
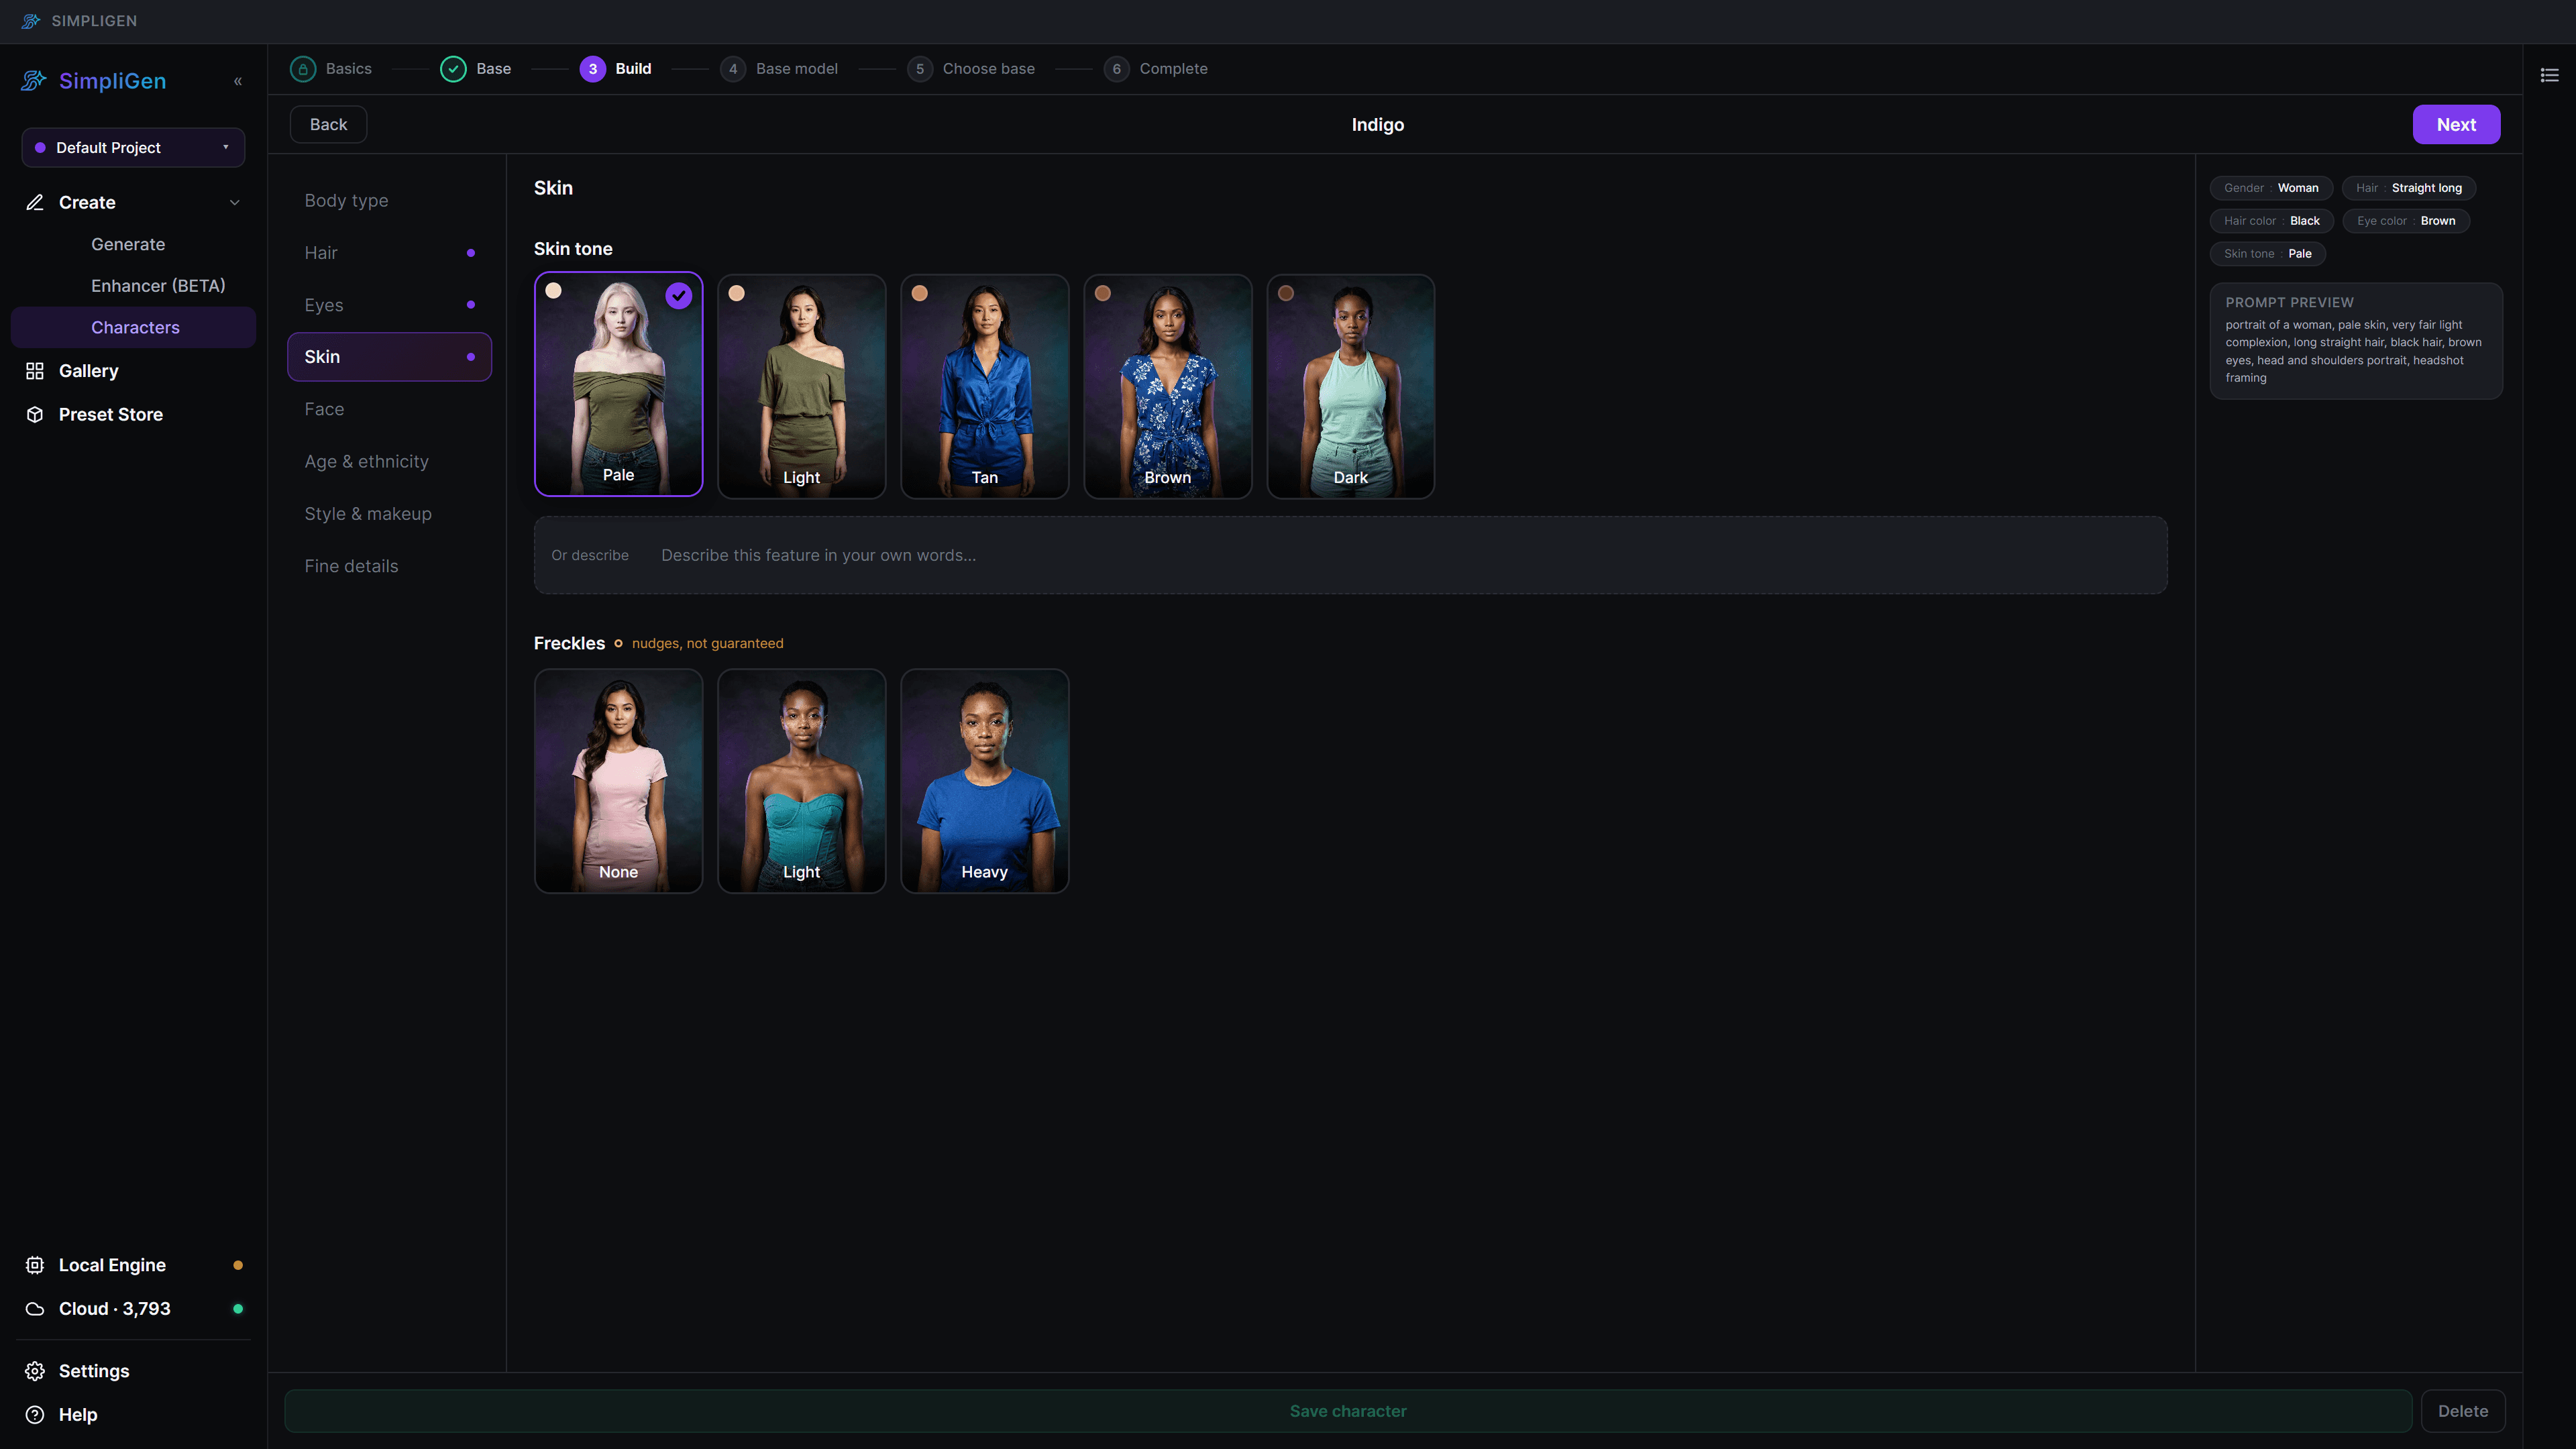
The identity builder turns a set of menus into a consistent face. Work through the categories and pick what fits:
- Hair style and colour
- Eyes colour and shape
- Skin tone
- Face shape and features
- Body and build
Every choice you make here is what keeps the face consistent in every image and video later, so it is worth taking your time. You can always come back and adjust the character afterwards.
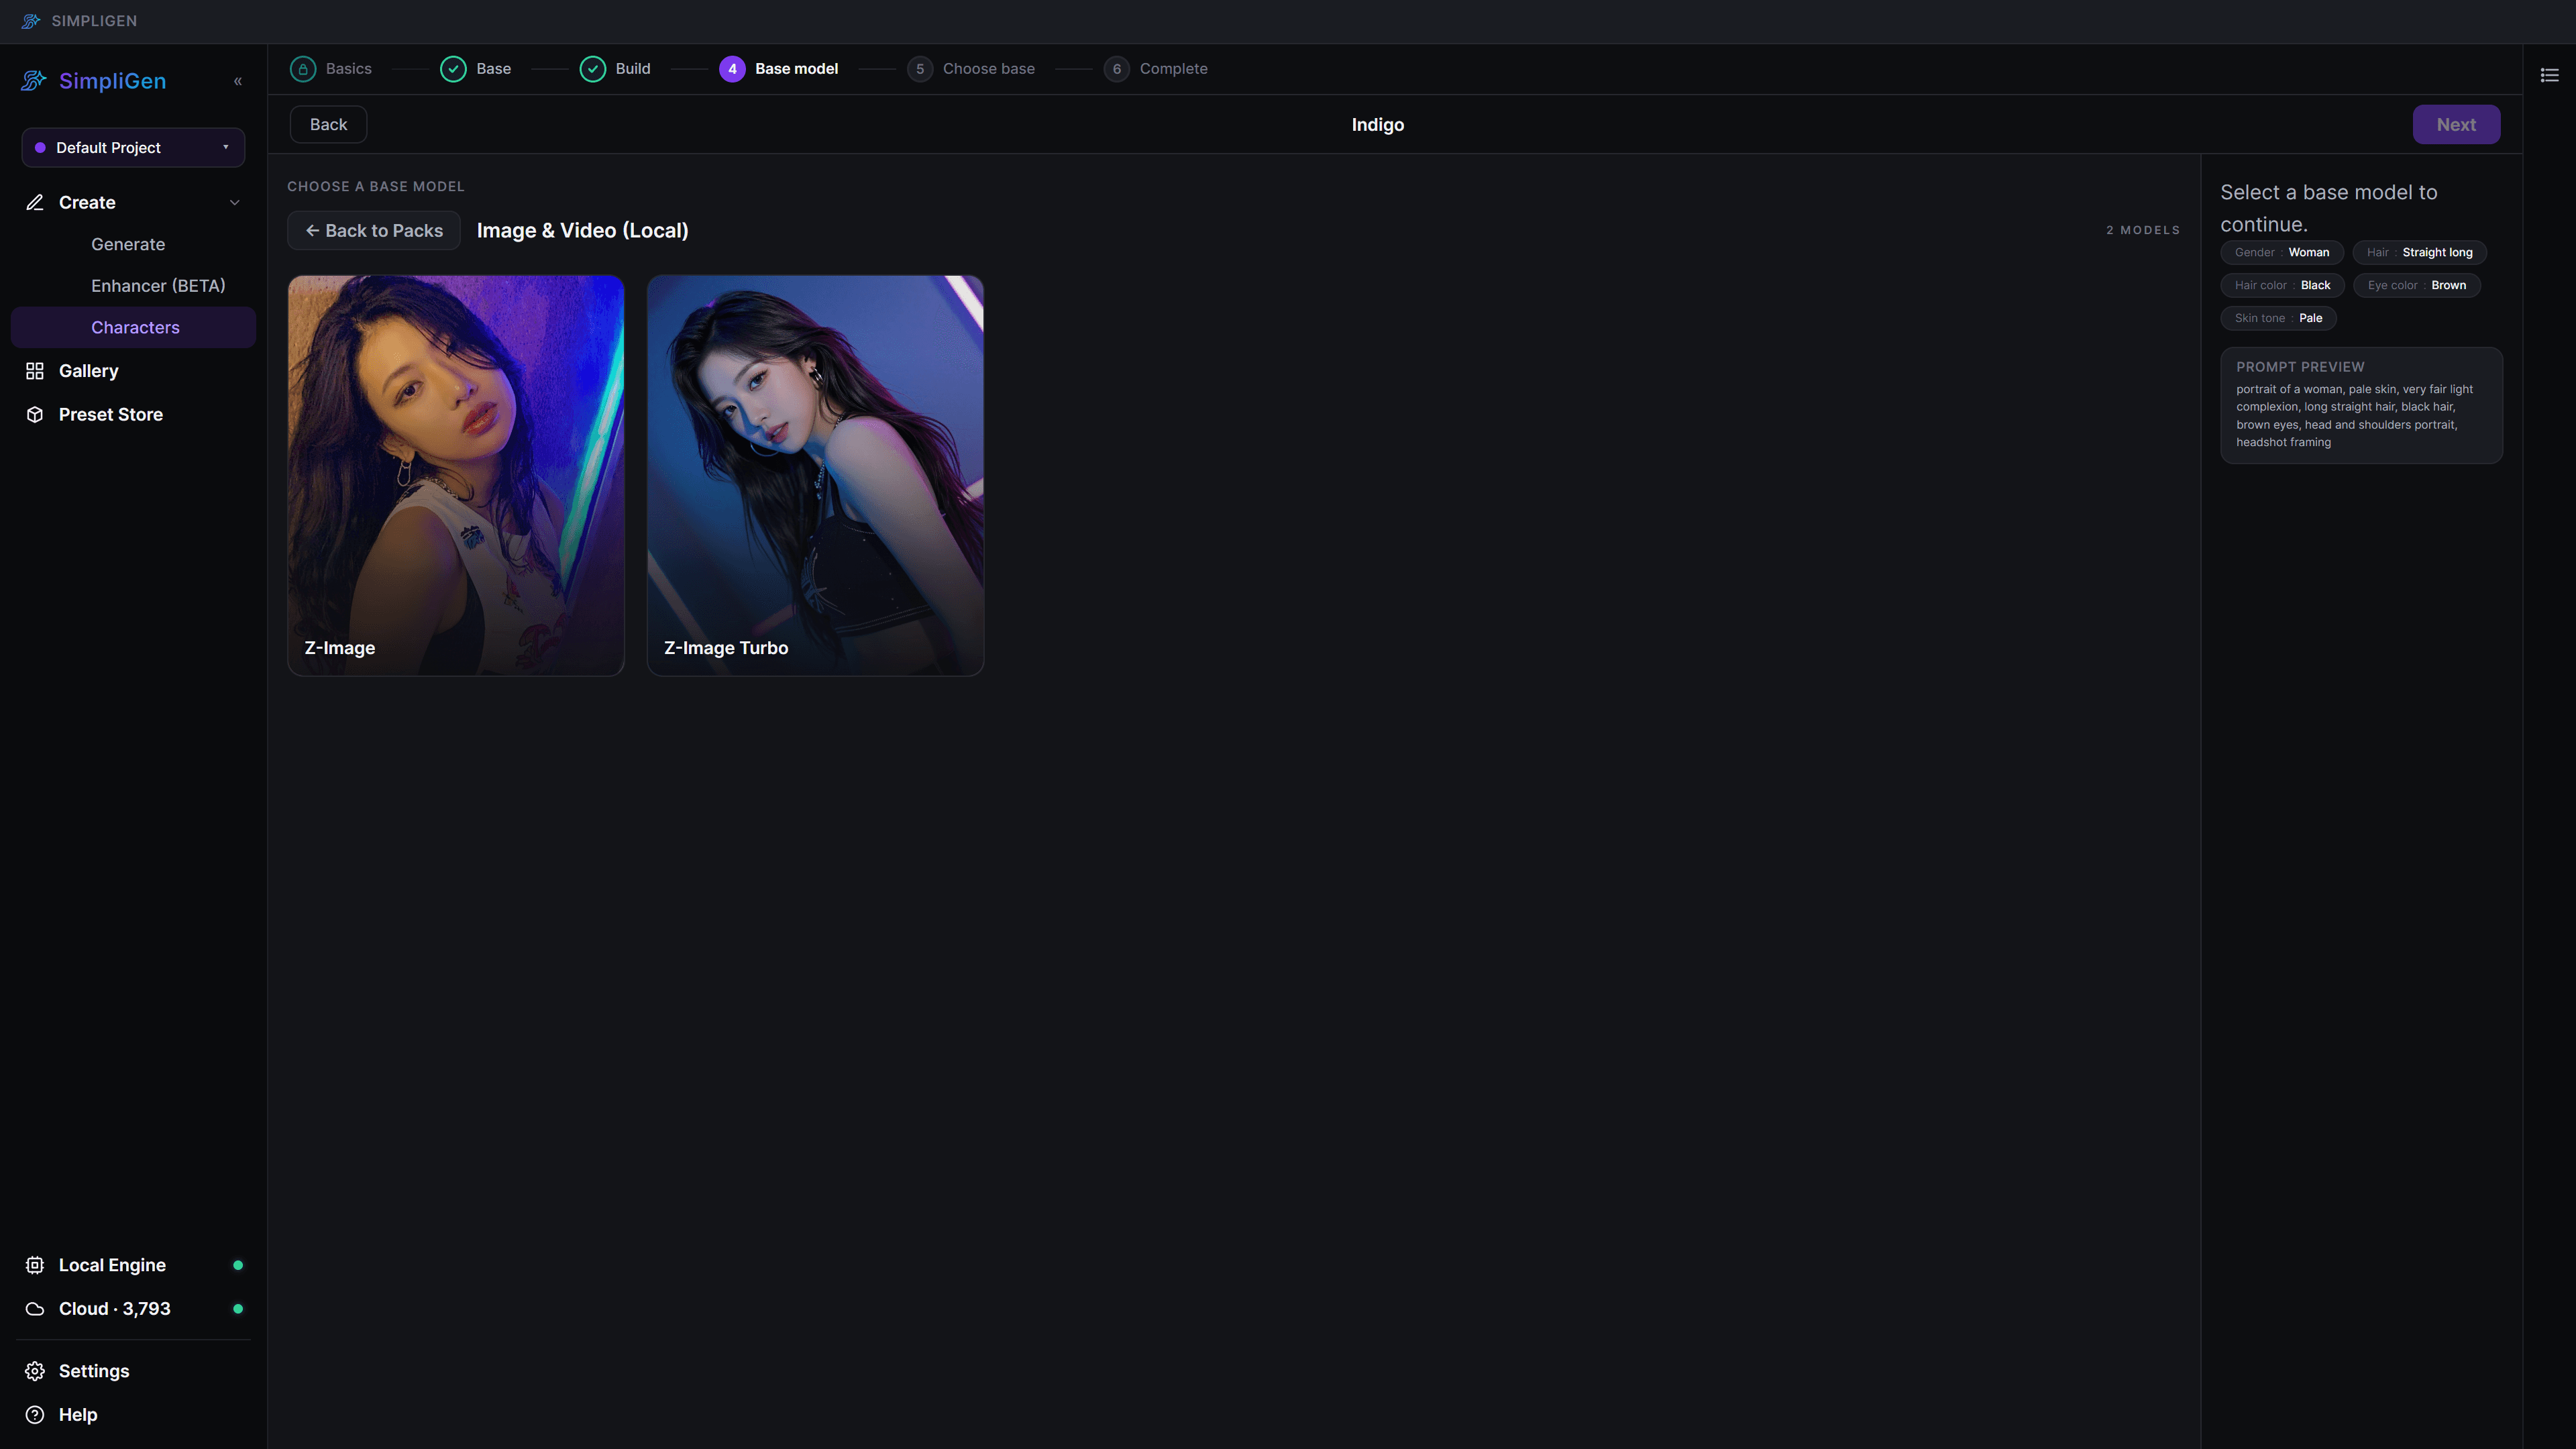
Pick a base model
Next, choose the model that paints the portrait. Each pack holds one or more models. A fast local model runs on your own machine and is free to use, which is the easiest way to start. Cloud models are available too if you have SimpliGen Cloud connected.
Generate and choose
Hit generate, and SimpliGen creates a few base options. Look them over and click Use this base on the one that feels most like your character. That portrait becomes the anchor, and from this point on the character exists and is ready to use.